Integrating Hashnode Headless Mode with My Portfolio: A Seamless Blogging Journey
Delve into my journey of harnessing Hashnode's headless mode, empowering the seamless integration of a personalized blog within my portfolio
Vishal Kumar
0Comments
6 min read
Introduction
Recently, I embarked on a mission to revamp my online portfolio. I desired to venture into the world of blogging, to share my learnings and experiences in the tech realm, but I found myself hesitant, unsure of where to begin. It was around this time that Hashnode, the blogging platform, introduced its headless mode, opening up a new realm of possibilities for content creators like myself.

This innovative feature, Hashnode's headless mode, with its GraphQL API access to all blogs on the platform, offered the freedom to create a fully customized blog section for my portfolio. Before this, while Hashnode supported custom domains, it lacked the flexibility I sought in aligning the blog seamlessly with my existing portfolio's design and brand identity.

Setup
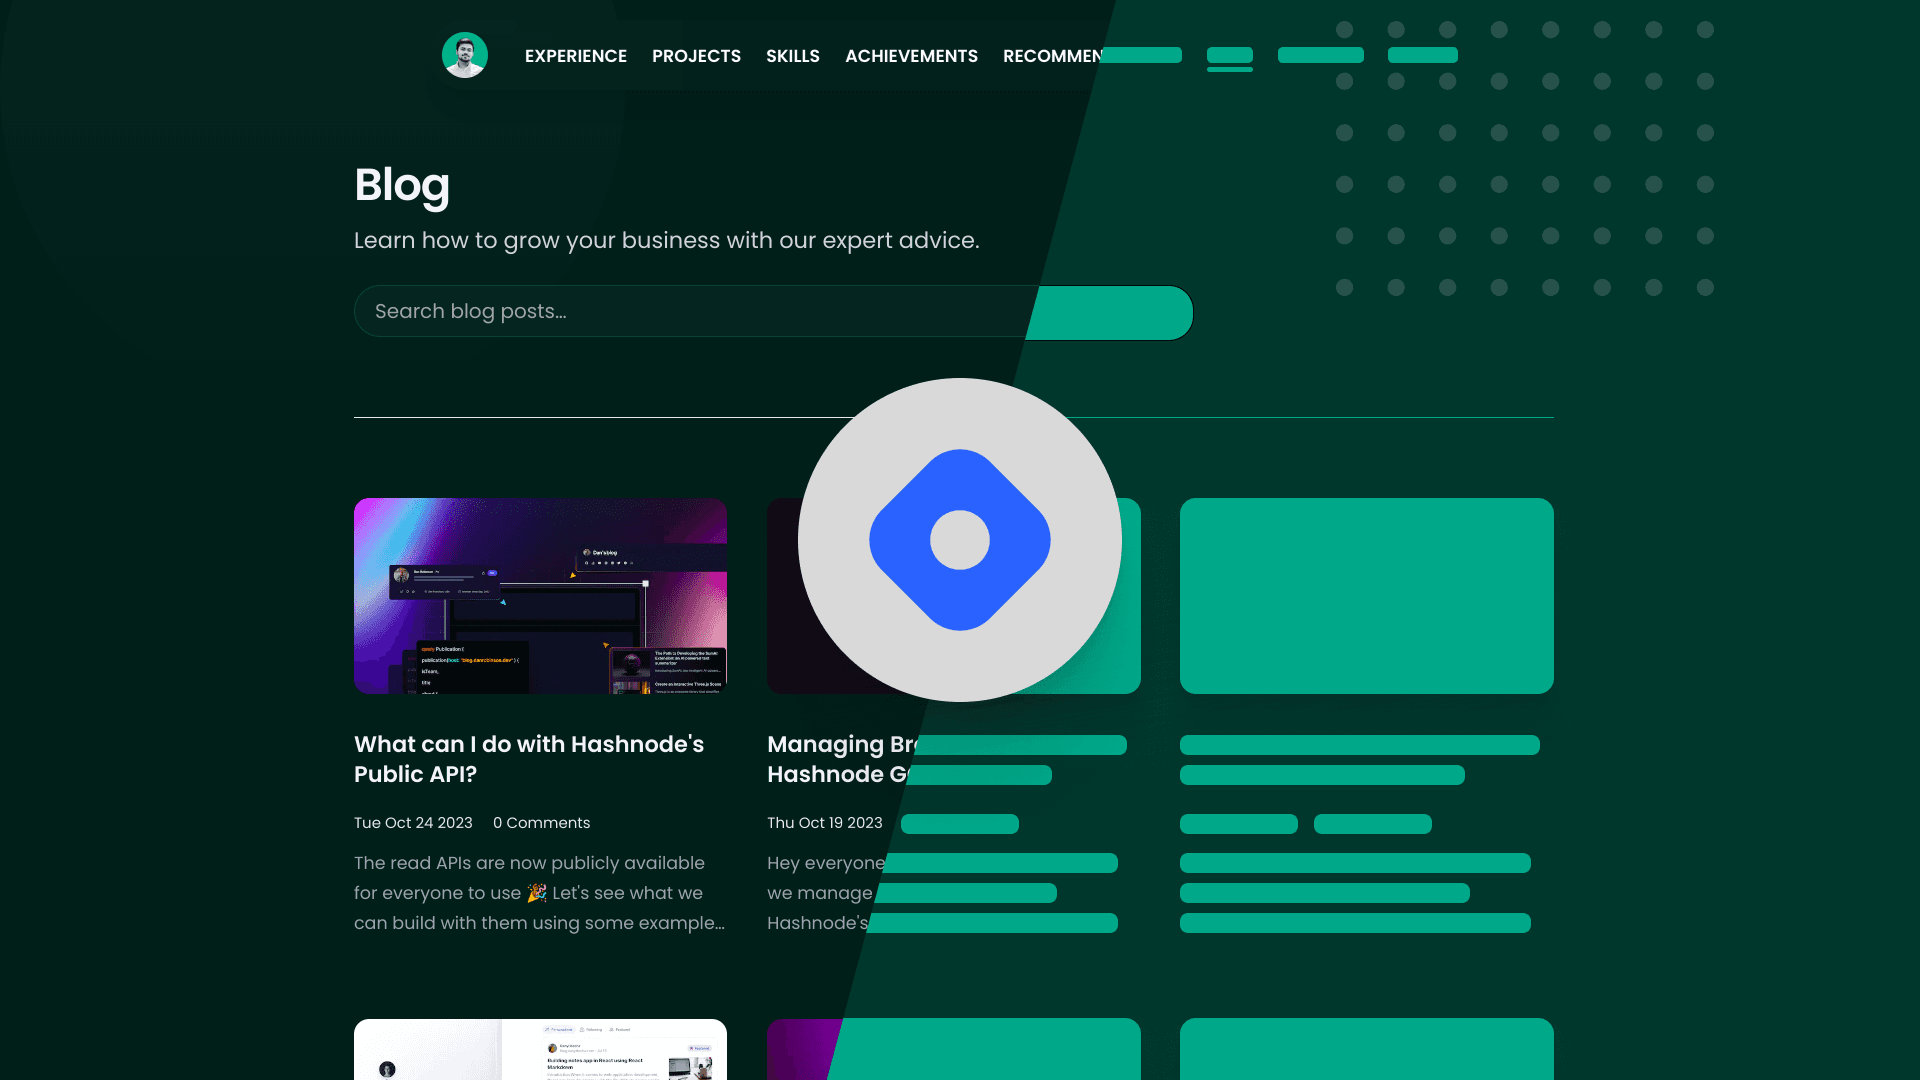
Upon the announcement of Hashnode's headless mode, I eagerly dived into the process. To kickstart my journey, I began by exploring the starter kit provided by Hashnode, which offered two themes: Enterprise and Personal. I opted to work with the Personal theme, which I duplicated and initiated the process of tailoring it to align with the aesthetic and branding of my portfolio.
My approach emphasized a minimalist design and a smooth, elegant user experience. Leveraging the starter kit, I made significant modifications to ensure the blog's visual elements resonated with the branding of my portfolio. The incorporation of framer-motion facilitated the seamless transition and animations within the blog section, enhancing the overall user experience.
Seamless Migration
One key aspect I strived for was the seamless integration of my blog hosted on a subdomain blog.vishalx360.dev within my portfolio vishalx360.dev.
Since I recently updated my portfolio from Nextjs 12 to Nextjs 13 to the app directory and server actions, I hosted the customized starter kit on the blog subdomain at blog.vishalx360.dev.
Although I made sure the transition from the main domain to the blog subdomain was seamless, there was a lot of unnecessary overhead and a lot of repeated files in both projects. I could have made a mono-repo using Vercel Turborepo, but it would have been for nothing.
The themes in the starter kit, as of the time I wrote this article, were reliant on the Next.js pages directory and utilized getServerSideProps for data retrieval.
Due to this, I chose to separate the data retrieval functions (the Graphql-layer) from the starter kit and integrate them into my portfolio project, which uses an app router.
It was much simpler than I thought, I just made top-level pages getServerSideProps functions to utility function GetPosts.
typescript// util.ts
import { cache } from "react";
import {
PostsByPublicationDocument,
PostsByPublicationQuery,
PostsByPublicationQueryVariables
} from '@/../generated/graphql';
import request from 'graphql-request';
const GQL_ENDPOINT = process.env.NEXT_PUBLIC_HASHNODE_GQL_ENDPOINT!;
const PUBLICATION_HOST = process.env.NEXT_PUBLIC_HASHNODE_PUBLICATION_HOST!;
export const revalidate = 60; // 60 seconds
export const GetPosts = cache(async () => {
const data = await request<PostsByPublicationQuery, PostsByPublicationQueryVariables>(
GQL_ENDPOINT,
PostsByPublicationDocument,
{
first: 20,
host: PUBLICATION_HOST,
},
);
const publication = data.publication;
if (!publication) {
return {
notFound: true,
};
}
const initialPosts = (publication.posts.edges ?? []).map((edge) => edge.node);
return {
publication,
initialPosts,
initialPageInfo: publication.posts.pageInfo,
};
});
---
Now this GetPosts utility function can be called from any server component.
Notice we exported a revalidate constant from utils.ts, this will make sure any subsequent request is deduped while the application is building.
typescriptimport { GetPosts } from "@/utils"
import BlogGrid from './BlogGrid';
async function BlogPage() {
// using in server component
const data = await GetPosts();
if (data.notFound) {
return <div>Not found</div>
}
return (
<BlogGrid
initialPageInfo={data.initialPageInfo}
initialPosts={data.initialPosts}
publication={data.publication}
/>
);
}
export default BlogPage
I focused on making it easy for users to move smoothly between my portfolio and the blog. By paying close attention to details, I successfully simplified the transition from using pages to the app router.
Additionally, I've implemented a redirect policy in my blog application at blog.vishalx360.dev to ensure compatibility with previous versions. This step is necessary to ensure that older links on the internet work seamlessly, maintaining a smooth user experience.
typescript// next.config.js of old blog-subdomain nextjs app
async redirects() {
return [
{
source: '/',
destination: `${PORTFOLIO_URL}/blog`,
permanent: true,
},
{
source: '/:slug*',
destination: `${PORTFOLIO_URL}/blog/:slug*`,
permanent: true,
},
];
},
We can generate static files with the following code. This uses another utility function called GetSlugs
typescript// Return a list of `params` to populate the [slug] dynamic segment
export async function generateStaticParams() {
const slugs = await GetSlugs();
return slugs?.map((slug) => ({ slug }))
}
We can also have dynamic Metatags for social previews by using generateMetadata which works in pages and layouts inside the app router.
typescript
import { DEFAULT_COVER } from "@/app/data/const";
import type { Metadata, ResolvingMetadata } from 'next';
type Props = {
params: { slug: string }
searchParams: { [key: string]: string | string[] | undefined }
}
export async function generateMetadata(
{ params, searchParams }: Props,
parent: ResolvingMetadata
): Promise<Metadata> {
// fetch data
const { post, page, notFound } = await GetPostBySlug(params.slug);
if (notFound) {
return {
title: "Blog not found",
description: "Please check the url"
}
}
const previousDescription = (await parent).description
return {
title: post?.seo?.title || page?.title || "Blog",
description: post?.seo?.description || post?.subtitle || previousDescription,
openGraph: {
images: [post?.coverImage || DEFAULT_COVER],
},
}
}
Notice this uses another utility functions called GetPostBySlug defined inside utils.ts. Since we exported the revalidate constant to 60 seconds, this function call is deduped and only called once in the build time.
Fluid Animations
%[https://youtu.be/dX9taHAdkjU]
I updated my portfolio to have smooth transitions and beautiful animations. The above video shows a demo of how the cover image of the blog is synced to its blog details page.
Framer-motion gives us a ton of primitives to build up on in React, when a motion component with a layoutId is removed from the React tree, and then added elsewhere, it visually animates from the previous component's bounding box and its latest animated values. If the previous component remains in the tree it will crossfade to the new one.
The following code shows how to sync two components with each other.
typescript<PostItem>
---
// cover-image from blogs grid/list (/blog)
<motion.div layoutId={`cover:${post.slug}`} className='w-full z-20 mb-4 overflow-hidden rounded-xl'>
<Image
height={336}
width={640}
className="group-hover:scale-[105%] group-hover:shadow-md duration-300 transition-all w-full rounded-xl"
src={post?.coverImage?.url || DEFAULT_COVER}
alt={post.title} />
</motion.div>
---
</PostItem>
Notice we pass the same layoutId layoutId={cover:${post.slug}} to both the components we want to sync.
typescript<PostDetails>
---
// cover-image from specific blog page. (/blog/slug)
<motion.div layoutId={`cover:${post.slug}`} className='w-full z-20 mb-4 overflow-hidden rounded-xl'>
<Image
height={500}
width={900}
className="group-hover:scale-[105%] group-hover:shadow-md duration-300 transition-all w-full rounded-xl"
src={post?.coverImage?.url || DEFAULT_COVER}
alt={post.title} />
</motion.div>
---
</PostDetails>
As I continue to refine and innovate, this journey of integrating Hashnode's headless mode with my portfolio has been an exciting and enlightening experience. It's not just about creating a blog; it's about crafting a seamless and immersive journey for my audience.
Using Hashnode's headless mode, I've combined my portfolio and blog seamlessly, creating a space that showcases my work and enables me to share my insights and knowledge with a global audience.
Stay Tuned
Stay tuned for more updates on my journey and the ongoing refinements in the blog section as I strive to create a more fluid and engaging user experience.